Create an Agent
Click Get Started on the walkthrough or read along below the video.
- Home
- SignIn
- Wallet
- Start
- Create
- Agent
- Chat
Click Sign In/Sign Up on the top right-hand corner of the screen.
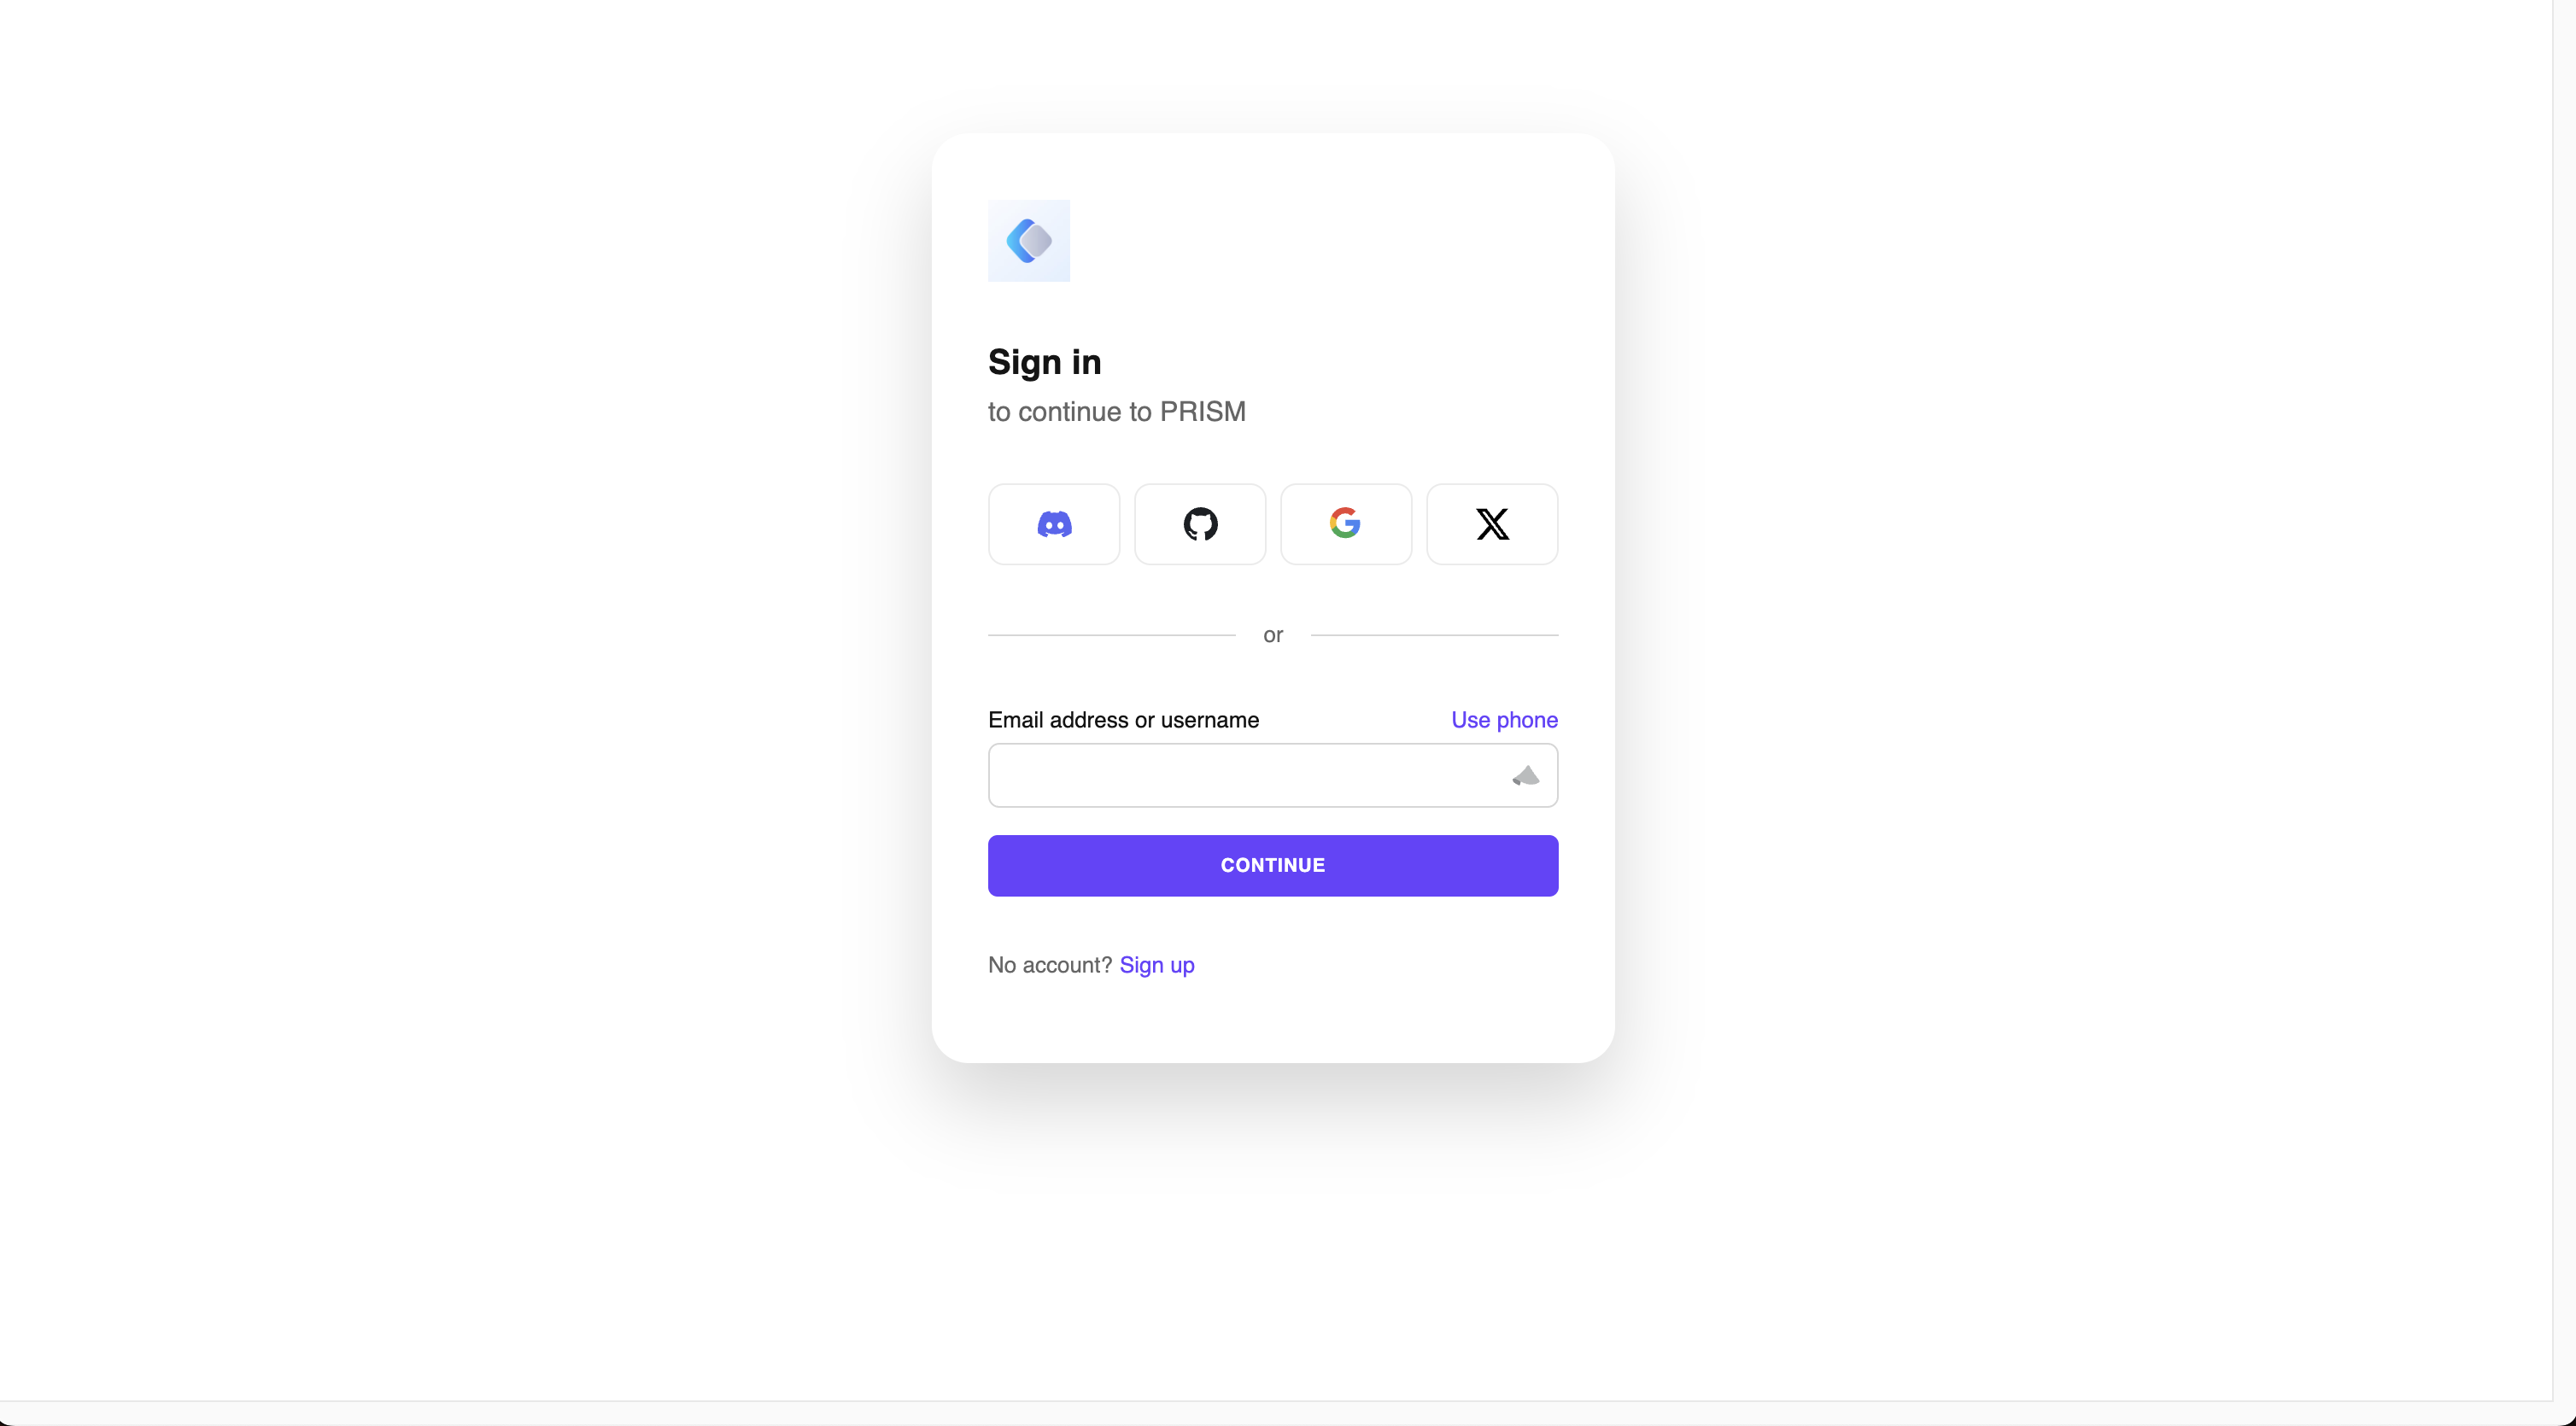
Next, you will be prompted to Sign In/Sign Up via the secure portal.
Sign in or sign up with your choice of methods. Then click the Continue blue button.
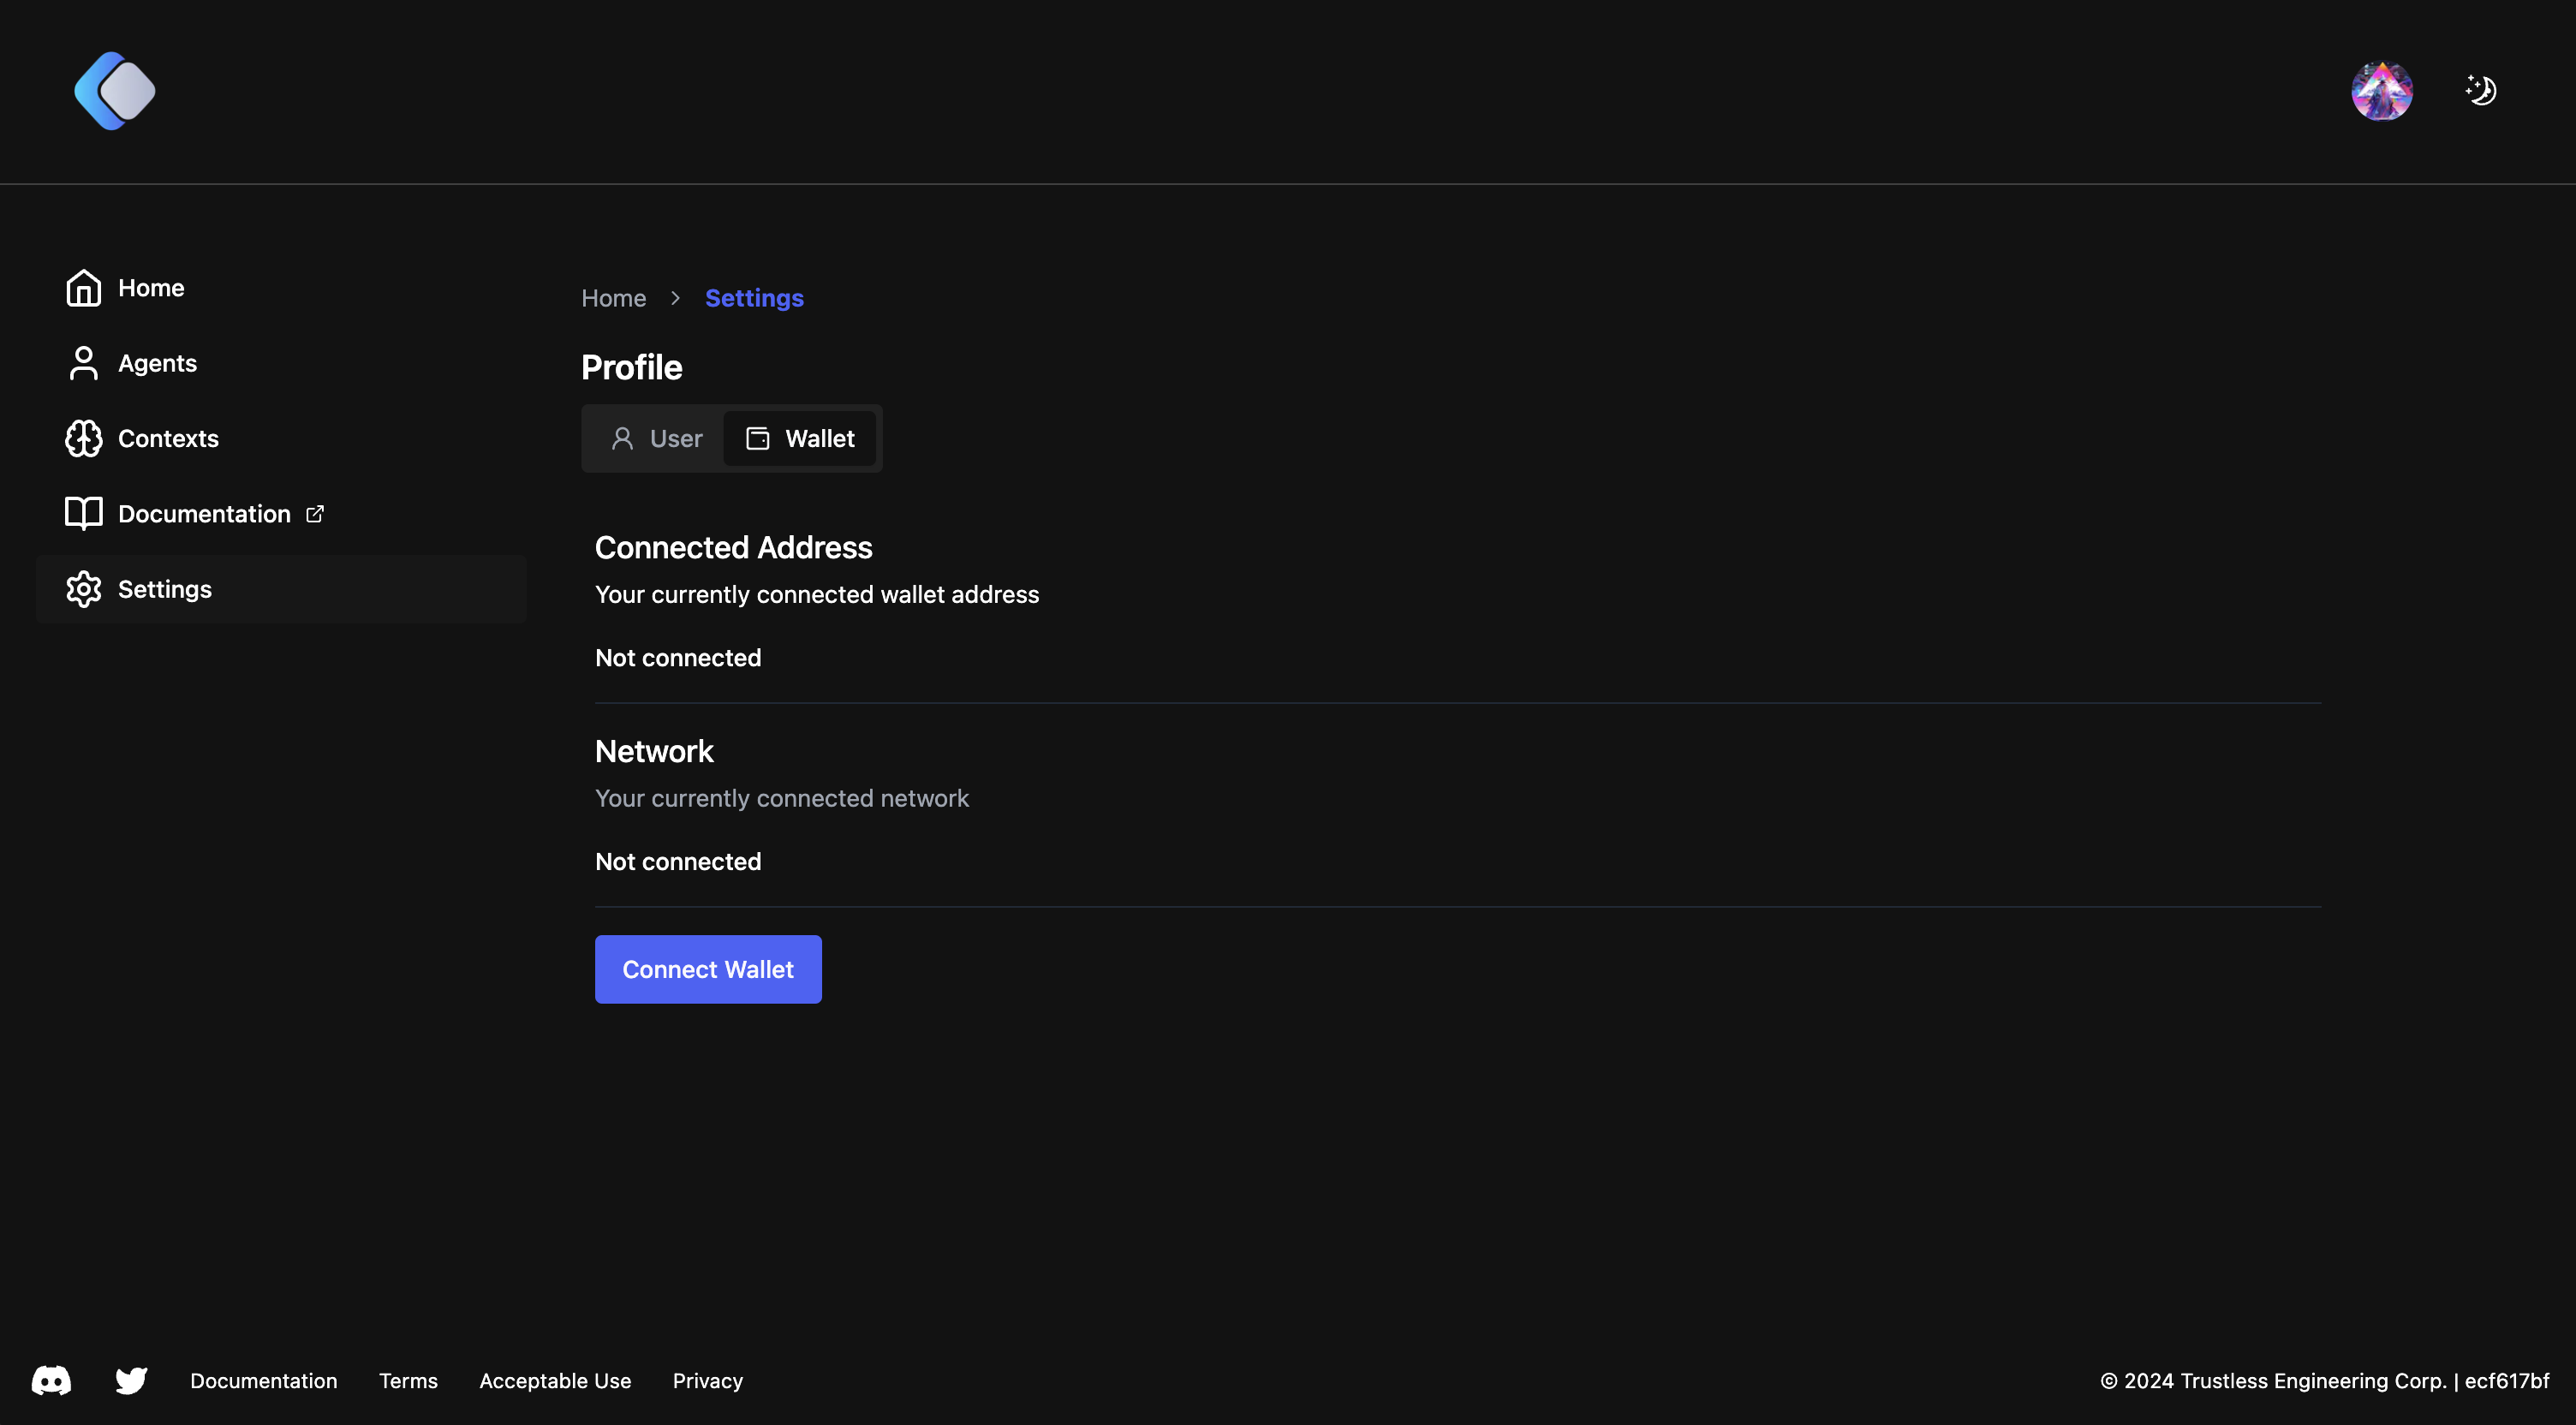
Next, you will be brought to the Home screen. Click the Settings tab on the left side of the screen.
In Settings navigate to the Wallet tab right under Profile. While there click the Connect Wallet blue button.
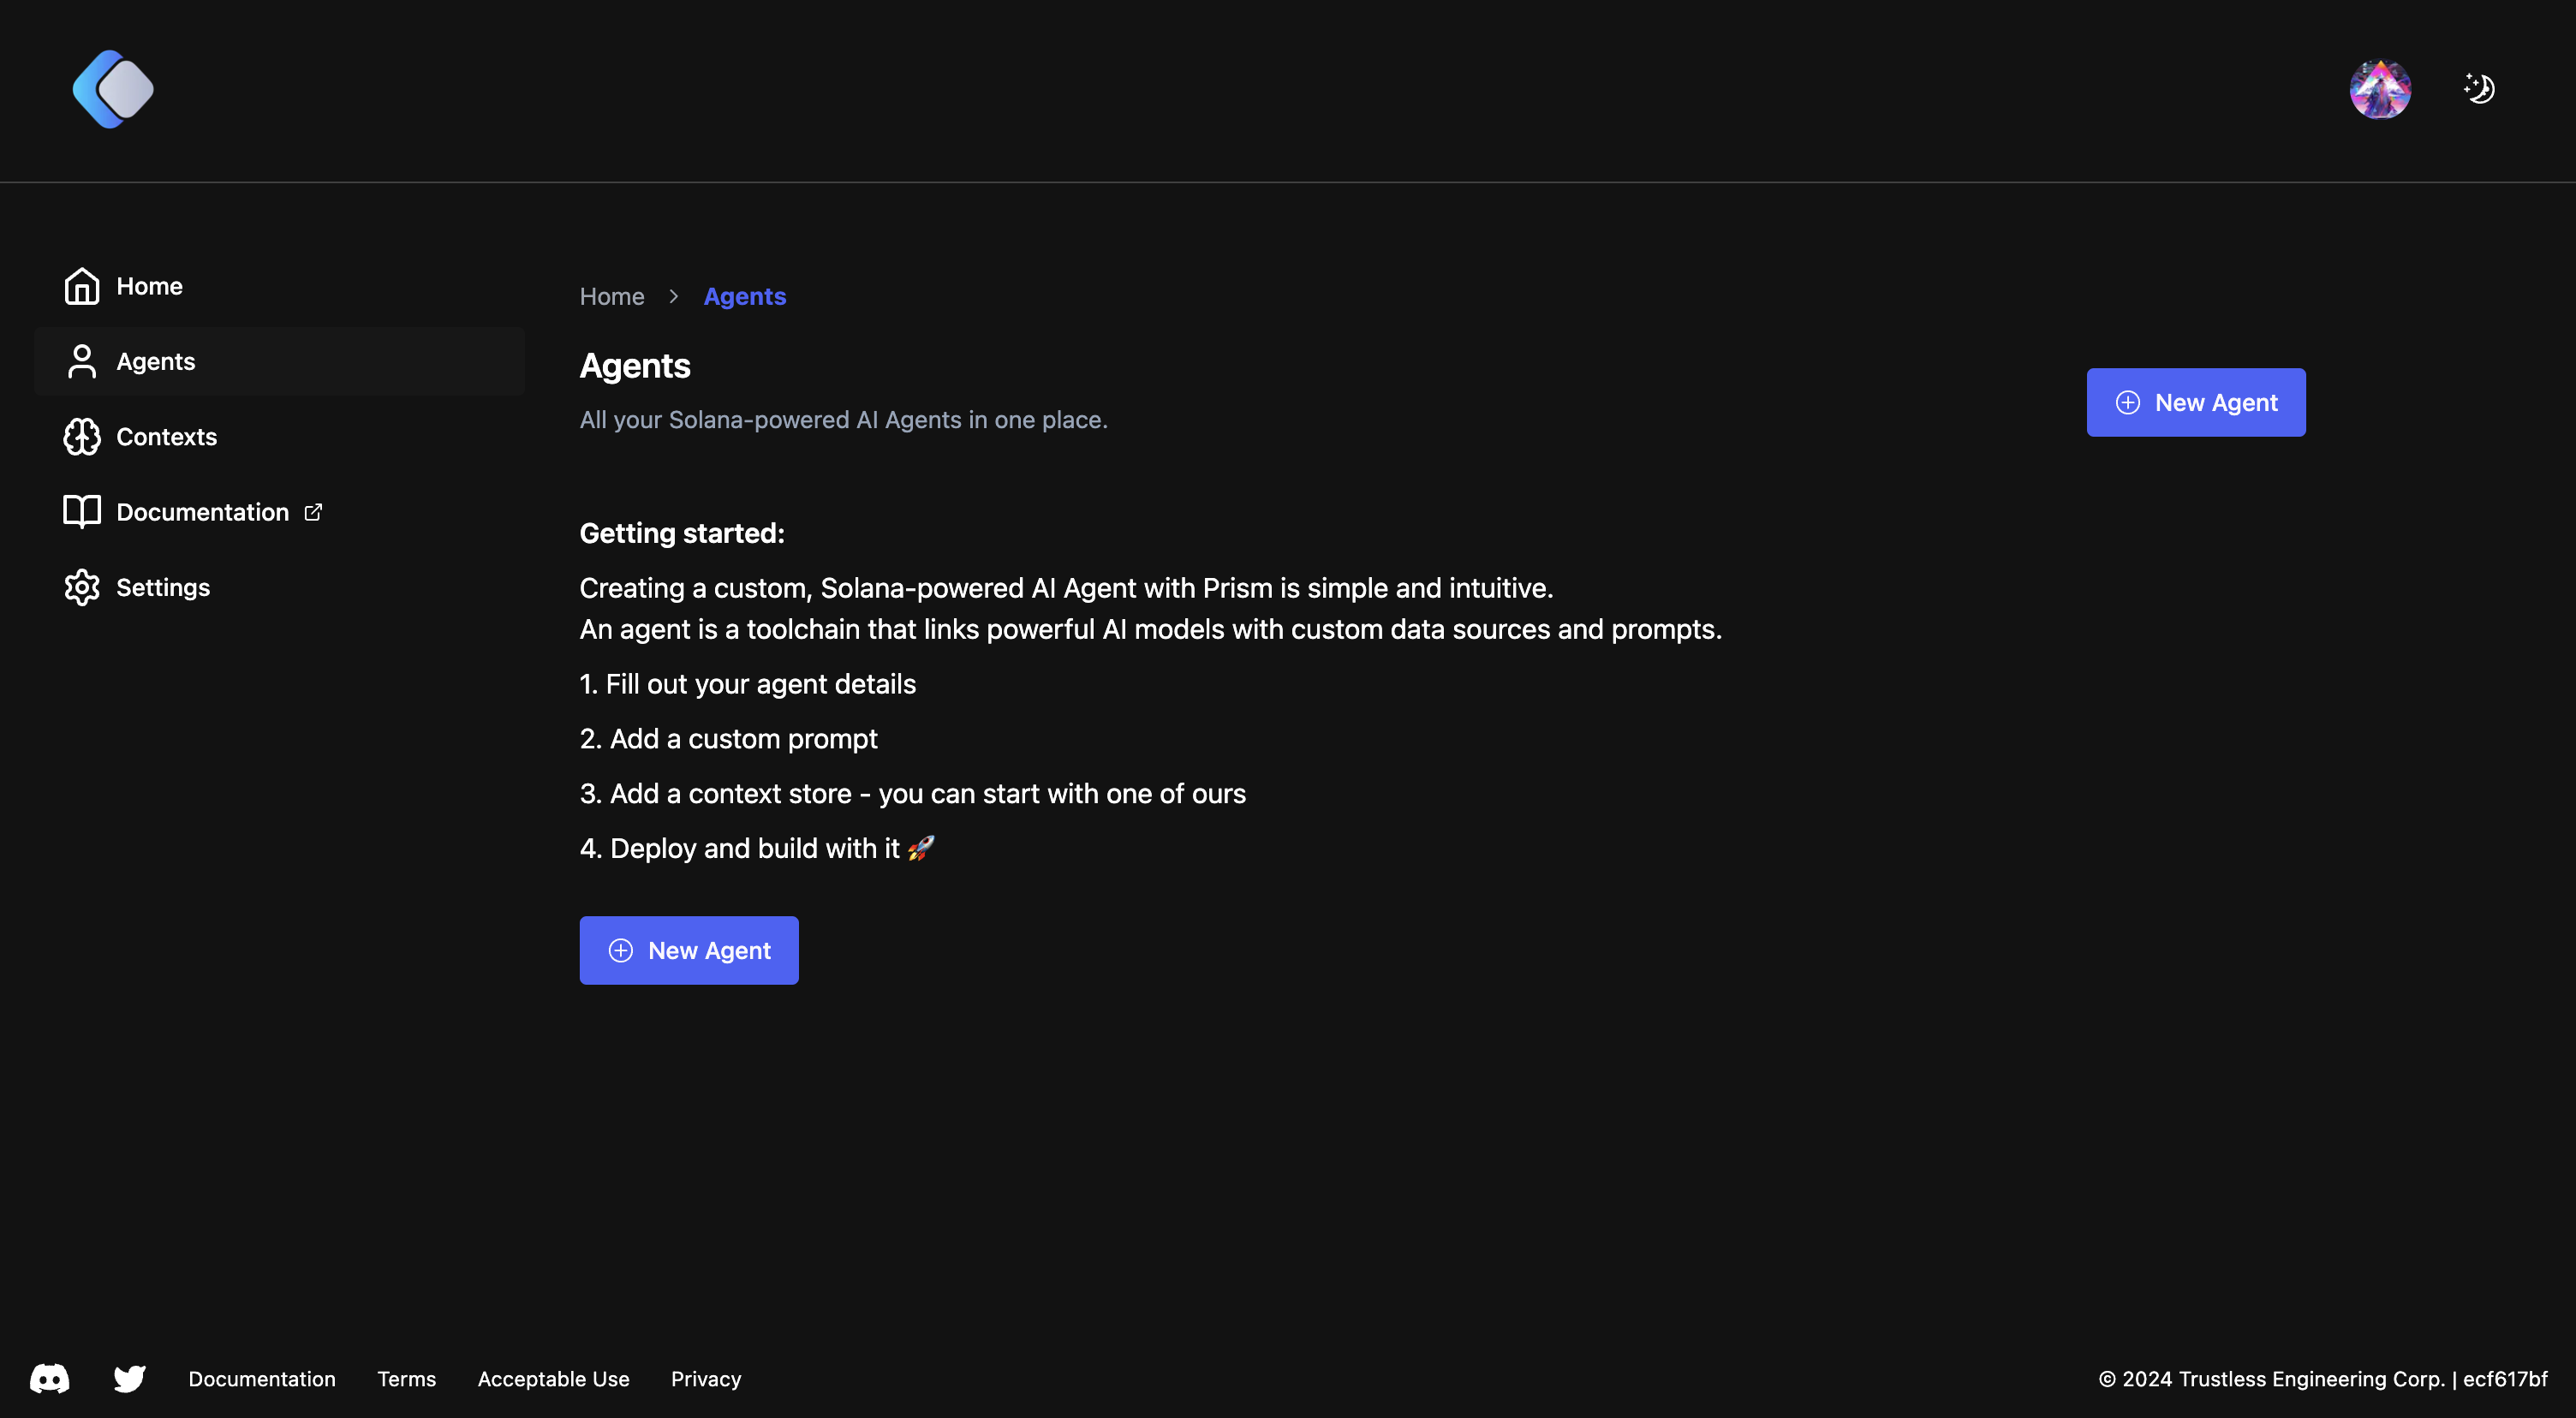
Next, you will be prompted to connect your wallet of choice. After connected, click on the Agents tab on the left side of the screen.
In Agents you are going to click on one of the two New Agent blue buttons.
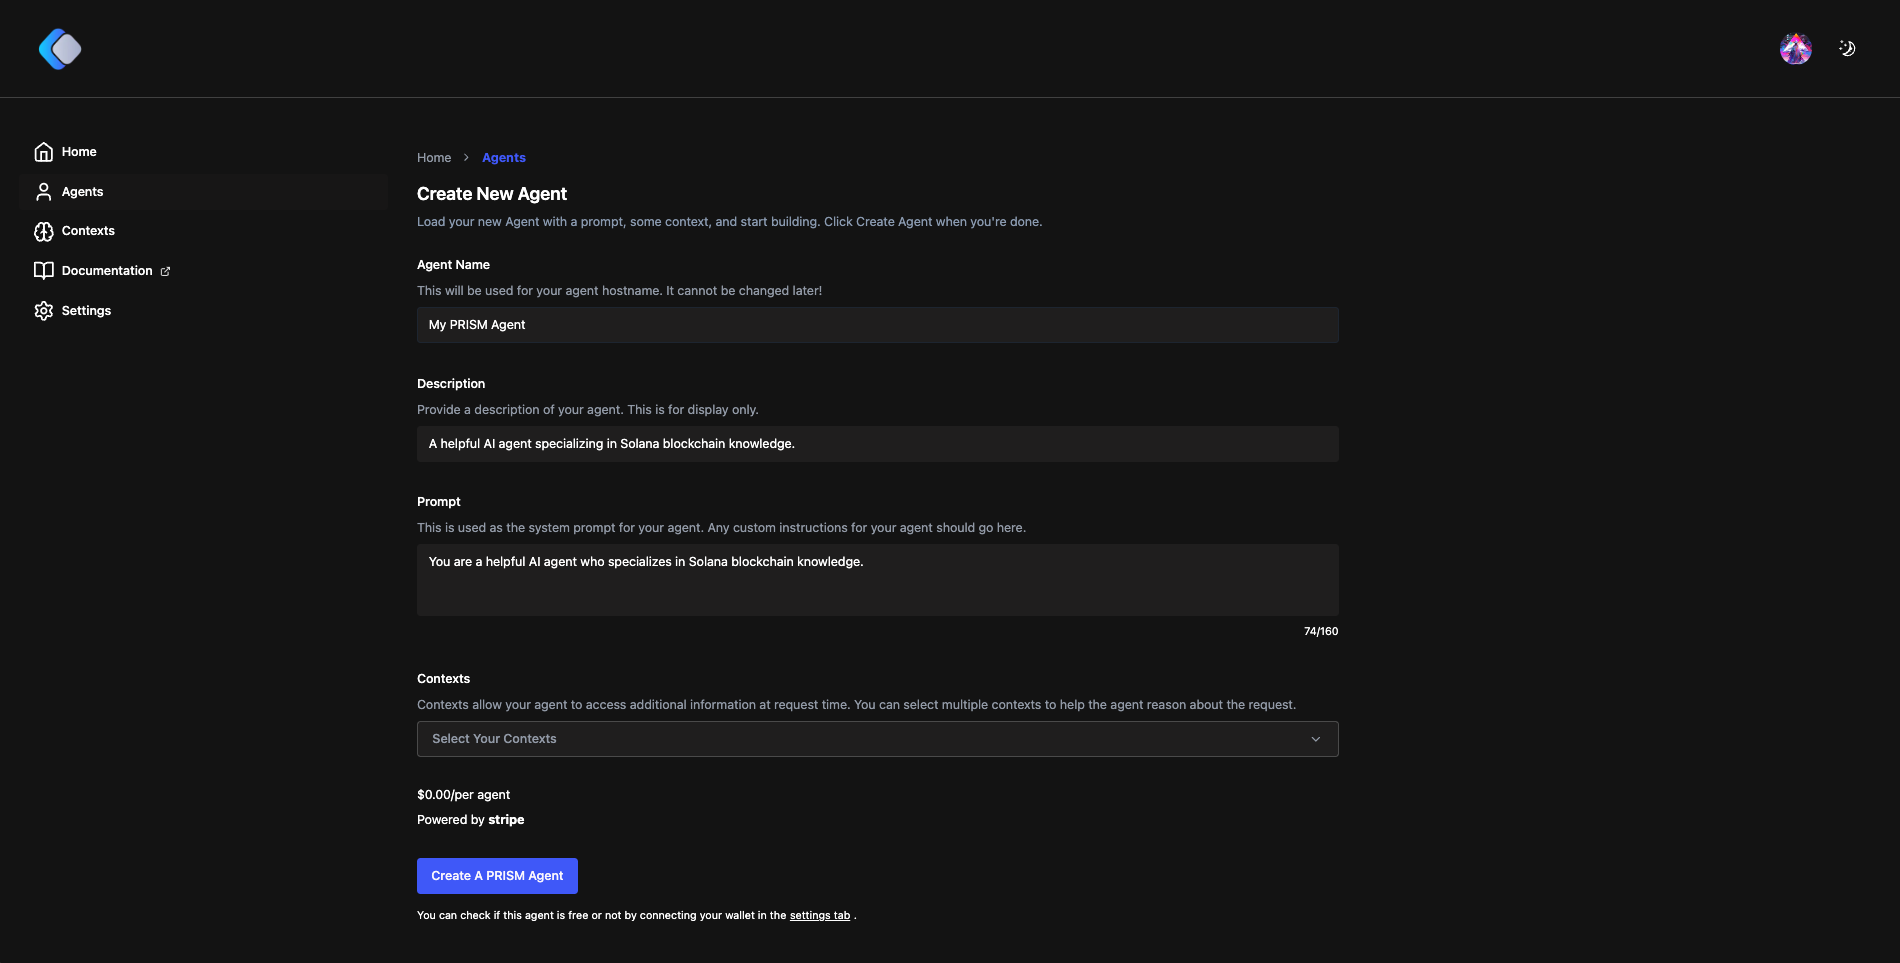
Next, you will be brought to the Create New Agent page.
Fill out all the required fields Agent Name, Description, Prompt. Contexts field is available as an addon. Once you are done click Create A PRISM Agent blue button.
Next, you will be prompted to pay via the Stripe portal. Once you have paid you will be redirected to the My PRISM Agent page.
First, you will see a provisioning tag that means your agent is being created. Once in the healthy tag appears your agent is ready.
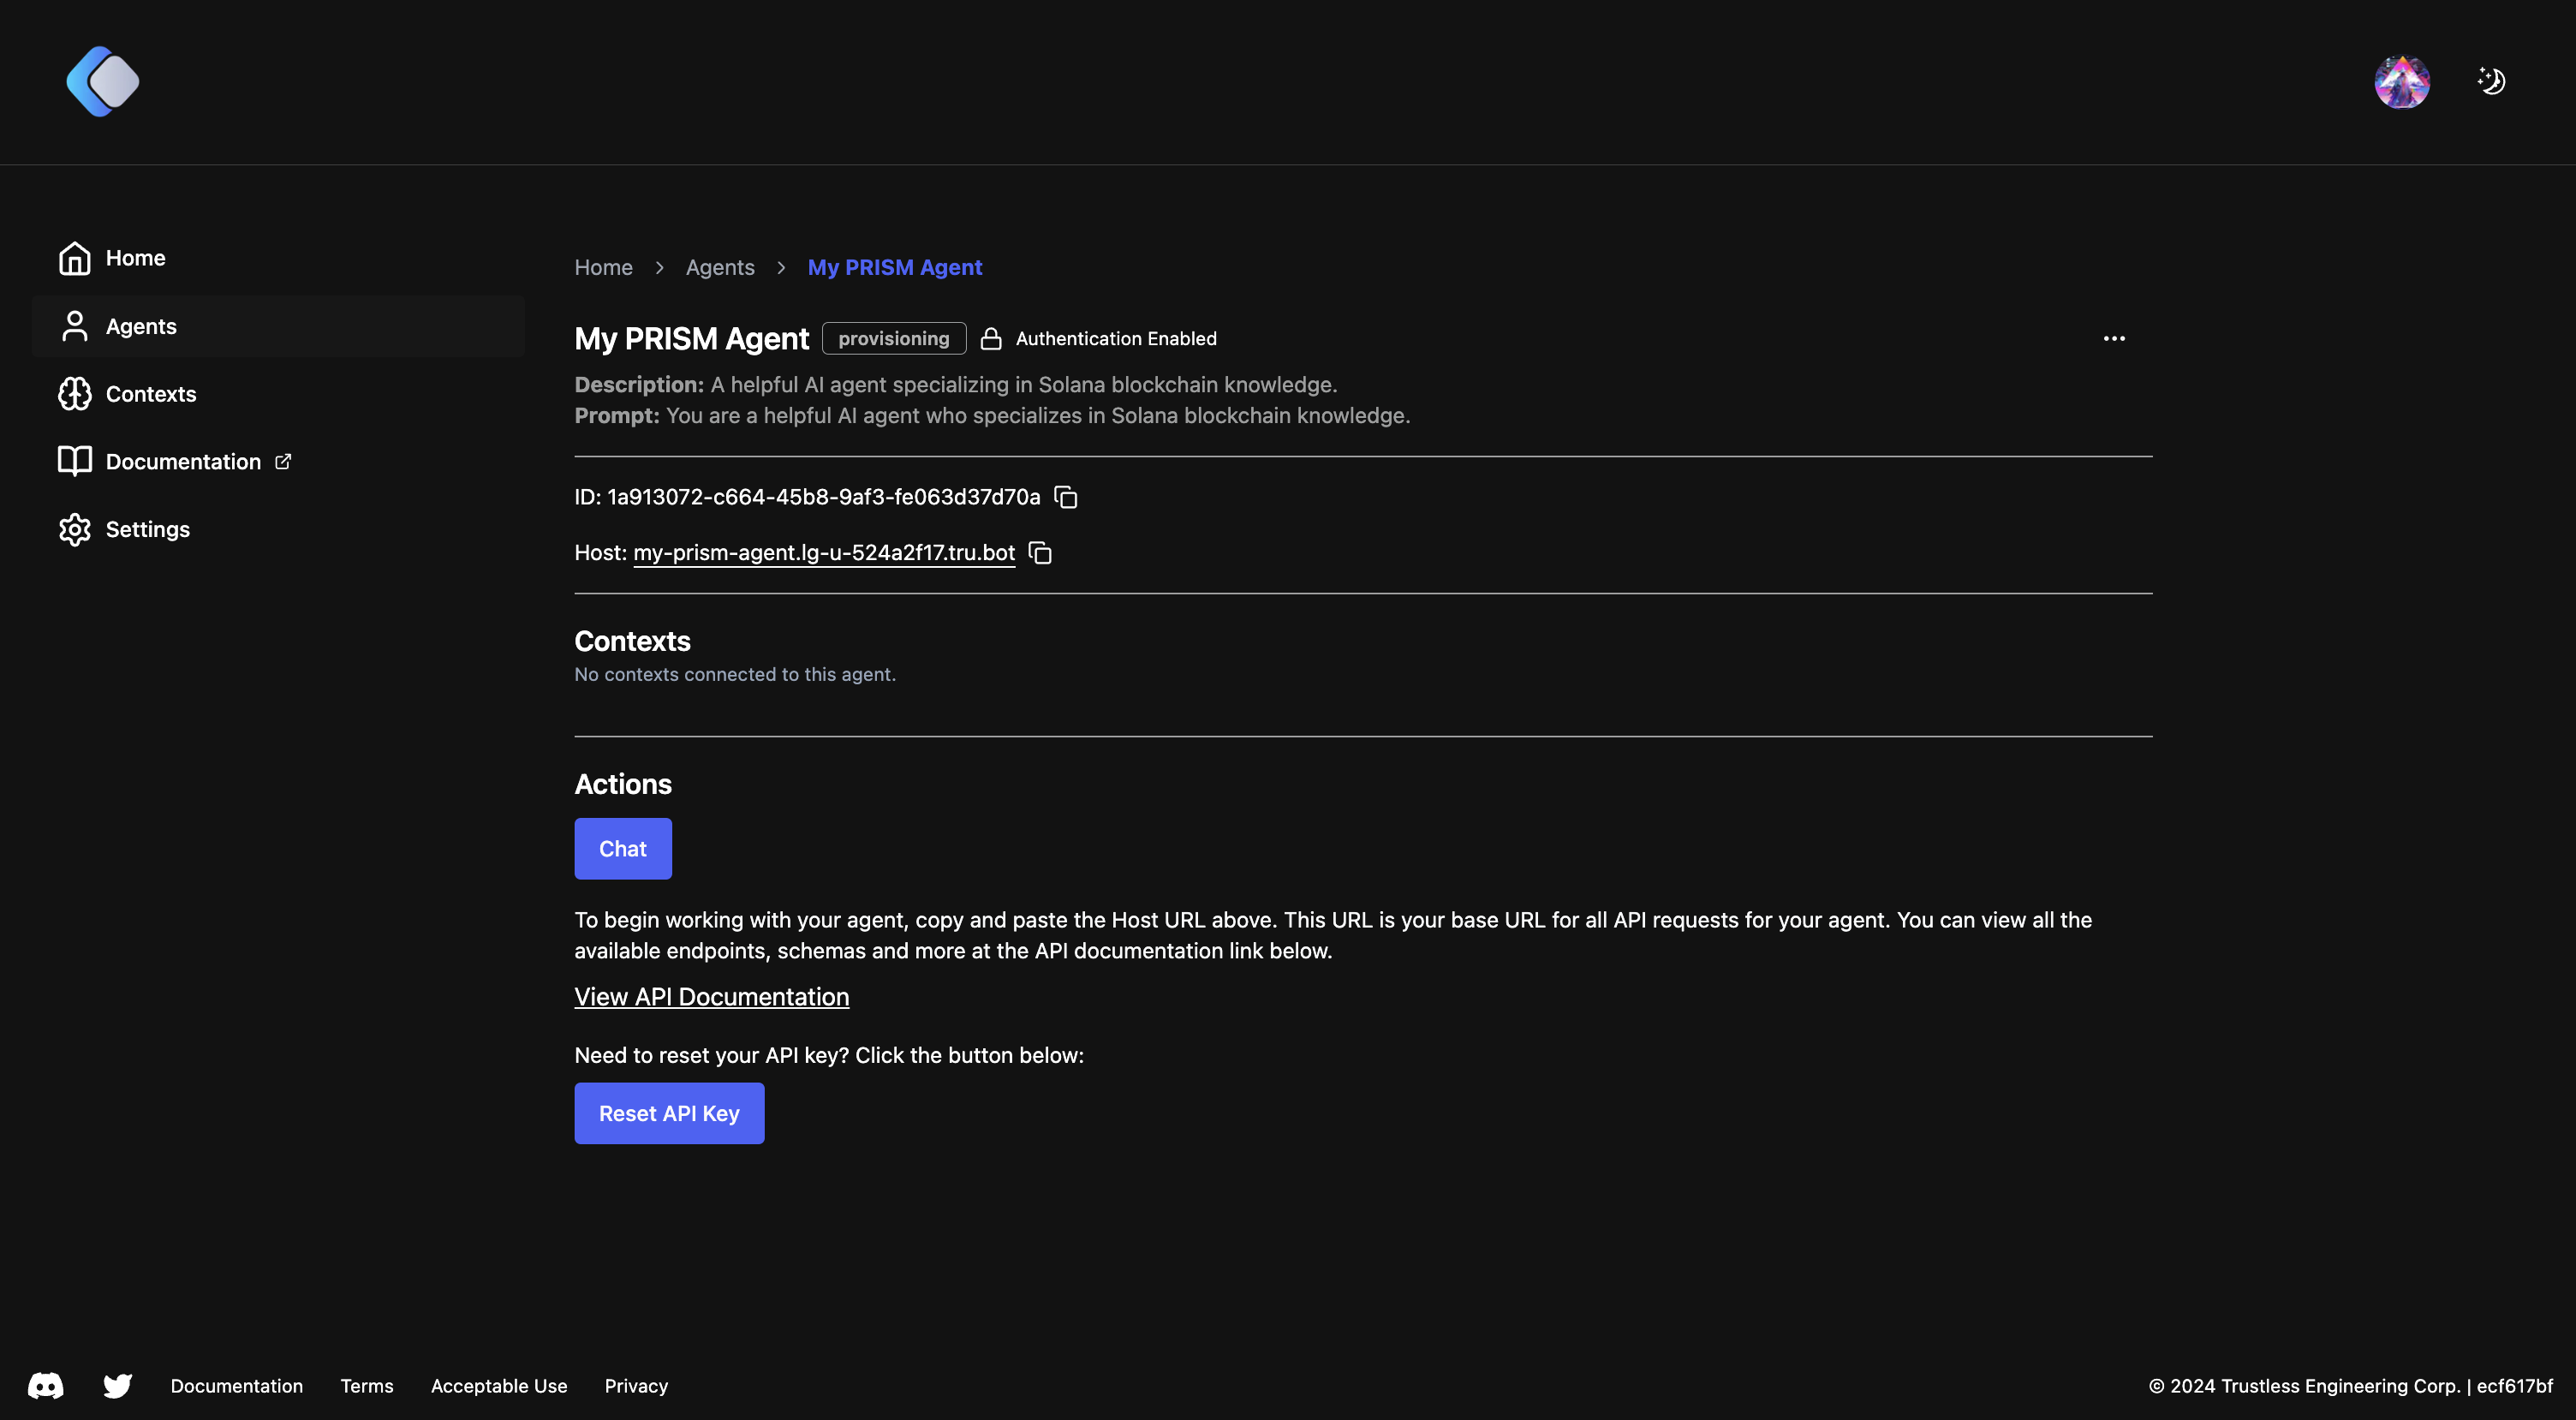
Next, you will click on the Chat blue button and be brought to the Playground.
Now you are able to chat with your agent directly or Select a Tool that enhances your agents abilities.

Start chatting with your newly created PRISM Agent now. [Launch App](https://app.prism.sh/)